Most “bad headset mics” aren’t actually broken—they’re just set up wrong: the mic is too far from your mouth, the input level is off, or noise suppression is fighting your voice. Fixing a few settings can make you sound 2–3x clearer in minutes.
1) Do the hardware basics first (fastest improvement)
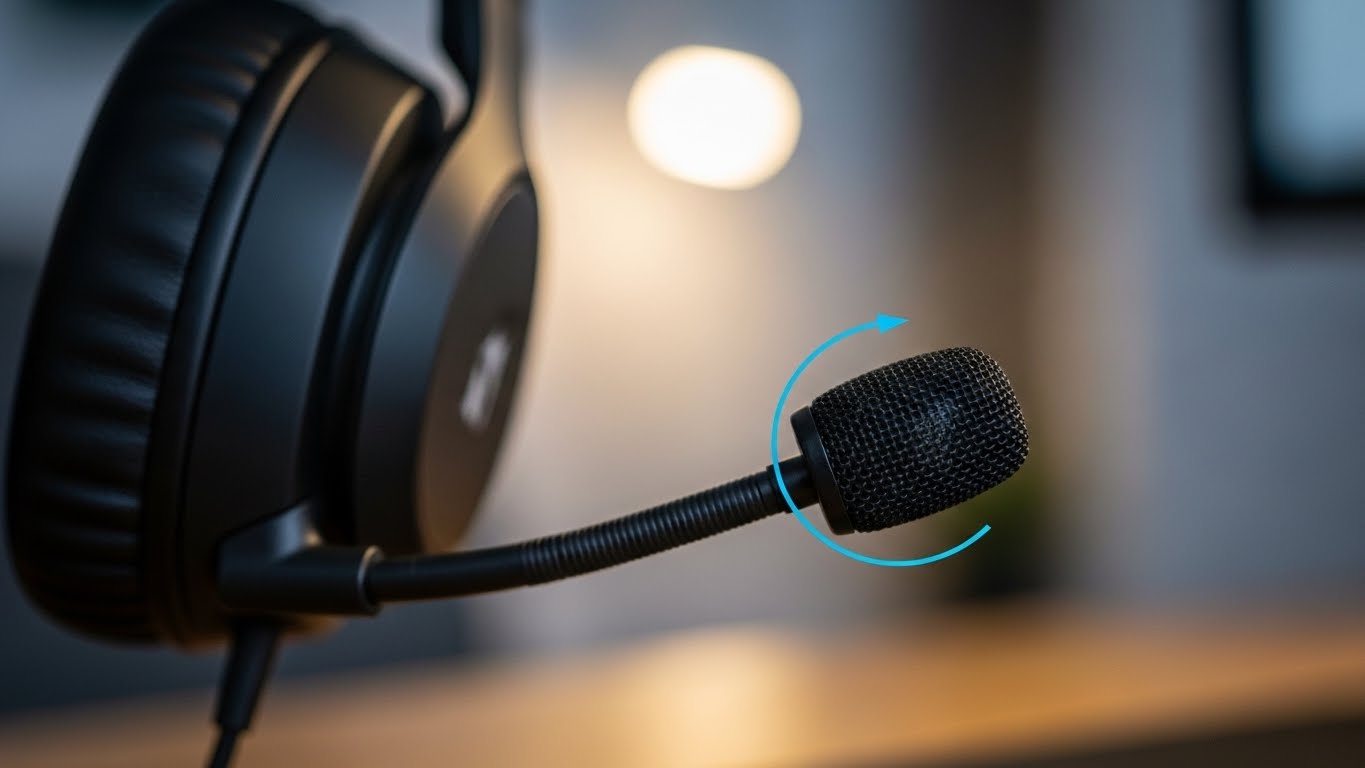
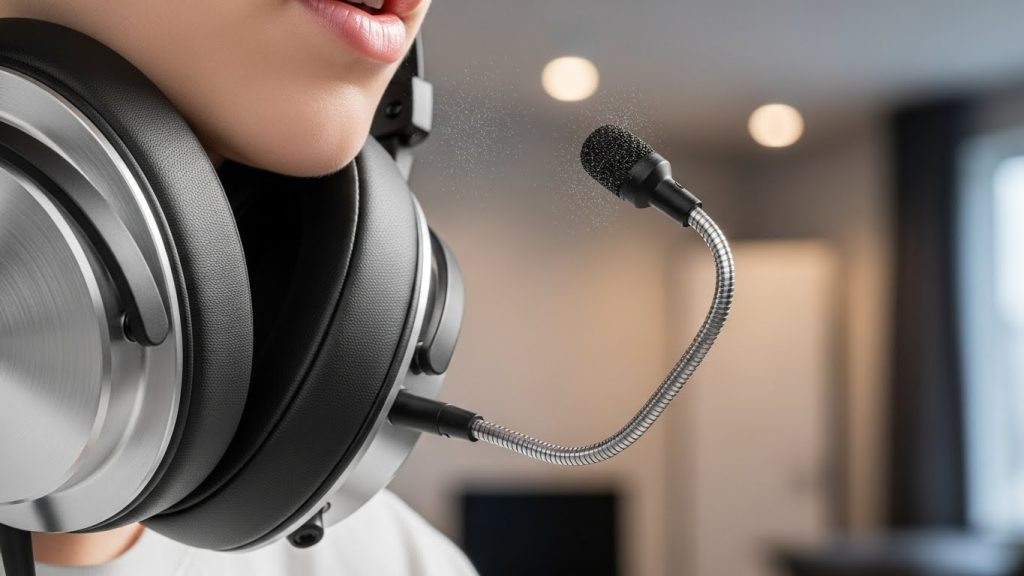
Put the mic in the right spot
- Position the mic 1–2 finger widths from the corner of your mouth (not directly in front of it).
- Aim it slightly off-center to reduce popping (“P” and “B” sounds).
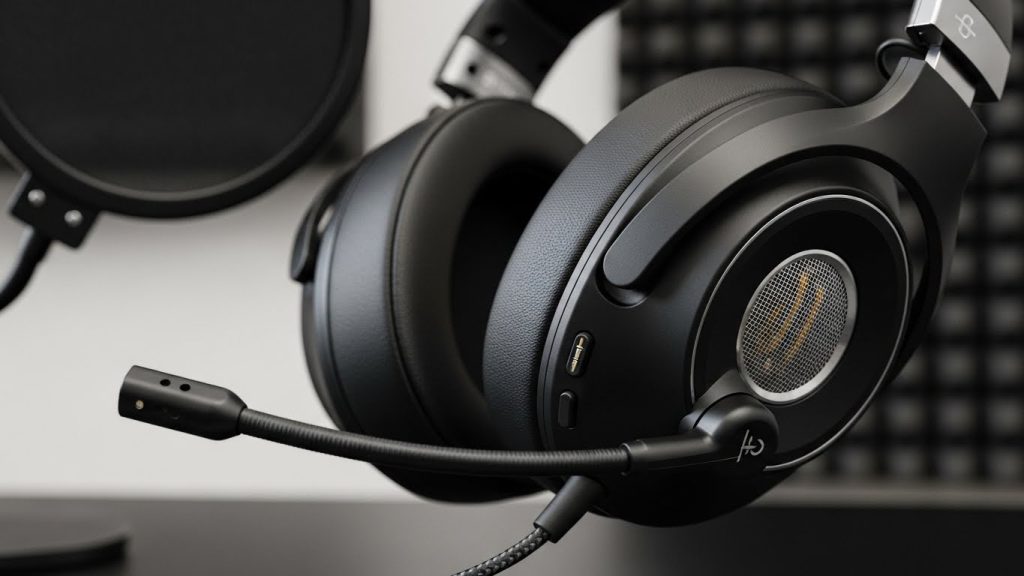
- If it’s a detachable boom mic, make sure it’s fully seated.
Check the mute switch and cable
- Flip the mute switch off/on once.
- If wired: replug into the correct jack(s) or use the right splitter (TRRS vs separate mic/headphone jacks).
- If wireless: plug in the dongle directly (avoid cheap USB hubs).
Reduce background noise physically
- Turn away from fans/AC.
- Don’t place the mic in front of your keyboard.
- Soft surfaces help (curtains, carpet, or even a blanket nearby).
2) Windows settings (fix “quiet mic” and “robot voice” issues)
Set the correct input device
Windows 11: Settings → System → Sound → Input
Choose your headset mic (not “Default” if it picks the wrong device).
Set input volume (most common mistake)
- Start around 70–90% input volume.
- If your voice clips/distorts, drop it to 60–75%.
Disable “audio enhancements” if you sound weird
Sound → Input → (your mic) → Audio enhancements
- If you sound robotic or underwater, turn enhancements Off.
Sample rate (optional)
If available: set to 48kHz (common for calls/streaming).
3) Discord mic settings (best clarity for gaming)
Go to: User Settings → Voice & Video
Input device
Pick your headset mic manually.
Input sensitivity
- Turn off “Automatically determine input sensitivity”
- Set the slider so your voice triggers consistently but background noise doesn’t.
Noise suppression (use one, not all)
- Try Krisp ON (usually best)
- If your voice sounds “chopped,” turn Krisp OFF and use lighter suppression.
Echo cancellation / noise reduction
- Enable if you’re on speakers or have room echo.
- If your voice becomes thin, reduce the number of processing options enabled.
Mic test
Use Discord’s “Let’s Check” and record a short sample.
4) Zoom settings (best for meetings)
Zoom → Settings → Audio
Disable “Automatically adjust microphone volume”
Set it manually so Zoom doesn’t pump your volume up/down.
Suppress background noise
- Low (quiet room)
- Auto (most people)
- High (noisy environment, but can reduce voice naturalness)
Enable “Original Sound” only if needed
If your mic sounds over-processed, Original Sound can help—but it may also allow more background noise in.
5) Fix popping, harsh “S” sounds, and breath noise
Plosives (“P” and “B” pops)
- Move mic slightly to the side of your mouth.
- Increase distance slightly.
Harsh “S” sounds (sibilance)
- Angle mic downward a bit.
- Reduce mic gain slightly.
Breath noise
- Don’t aim mic directly in the airflow from your mouth.
- Use a small foam windscreen if your headset supports it.
6) For wireless headsets (common issues + fixes)
Use the USB dongle mode for calls/gaming
- Bluetooth headset mics often drop to lower quality call codecs.
- 2.4GHz dongle usually sounds cleaner and has lower latency.
Keep the receiver close
- Plug dongle into a front USB port or use a short USB extension.
- Keep it away from Wi-Fi routers and USB 3.0 drives/hubs.
Update firmware/software
Many headsets improve mic processing with firmware updates.
7) Quick “best settings” starting point (works for most people)
- Mic position: 1–2 finger widths from mouth, slightly off-center
- Windows input volume: 75–85%
- Discord: manual sensitivity, Krisp ON (turn off if voice sounds clipped)
- Zoom: disable auto mic volume, background suppression Auto/Low
8) If you still sound bad, do this 60-second test
- Record in Windows Voice Recorder (local test).
- Record in Discord/Zoom (app processing test).
- If local sounds good but apps sound bad → settings/processing issue.
- If local sounds bad too → mic placement, gain, or hardware issue.